Sunday, March 9, 2014

Free, Free, Free. Yay!


This interruption of fence post cutting and scraping is brought to you by free lumber for raised garden beds and BIG tires for garden beds.  Yay!
 
I was beginning to think we would not have our other beds ready once it was time to plant our seedlings.


We got several very thick boards that will work to create a twelve foot long by four foot wide garden bed.  And with the four big tires, that will give us four more smaller beds.  Even though it was getting dark by the time we got it all loaded and to the house, Mr Blacksmith was ready to get started on the long bed.


We got the two long sides completed, before it got too dark to work.  Tomorrow, we will complete the end caps and set it in place.


So glad the wood came up finally.  Even though it is still about 4 weeks before we really start planting, it will be nice to know we will not be running around like a chicken with its head cut off looking for material for beds.   I will post an update and show the bed completed along with the tires in place.  But for now,
 time to get ready for bed.


Saturday, March 8, 2014

Posting for a Fellow Blogger, "5 Acres and A Dream"

A subscriber and fellow blogger that I have followed for a while has written a book about her and her husband's journey to be self-reliant and homesteaders.  She has now sold over 500 copies of her new book which I think is just great.   Lady Leigh is now holding a contest to give away a copy of her book and I am entering to win a copy so I have more information to fall back on in our journey to our own homestead and our own attempt at self-reliance.  So, for Lady Leigh here is the link to her posting and her blog:

     http://www.5acresandadream.com/2014/03/giveaway-celebrating-over-500-copies.html


Lady Leigh, here is to continued success for your book and your blog.
 
And if there is anyone else out there that finds my blog of any interest, please, feel free to subscribe.
 
It's free.
 
Thanks
 
Lady Hawke

Tuesday, March 4, 2014

Fence posts, How to Afford Them

 
We have had a little bit of a dilemma in trying to decide how to provide the fence post for a goat area.  When we priced them at the local feed and seed and Tractor Supply and Home Depot, we found that for the number of posts that we need, we just cannot afford them. 
 
So, we looked back on how the pioneers did their fence posts.  We want to be more self-reliant and not have to depend on the store for everything we need.  We looked around our land and saw that we have so many pine trees that are just the right diameter for fence posts.  Mr. Blacksmith and I both came to the same conclusion.  Why not use the wood we have?  We had already decided to clear an area behind the shed to plant our small orchard of fruit trees.  The pines had to go anyway, so why not? 
 
Well, we had the drawknife, we just need a log dog to hold the logs to strip the bark off.   We love to watch a Youtube video blogger called "Wranglerstar."   By learning from his tutorial, Mr Blacksmith learned to build our own log dog from scrap pallet wood.  So other than the screws to put it together it did not cost anything.
 
 
This was our first log to work on so we still needed to make some modifications.  The tall uprights had to be trimmed down a little.  But here are a few pictures of Mr. Blacksmith in action stripping the posts.


This is the area that we are going to clear for our fruit trees. 
Goodbye pine trees, hello fence posts, hello soon-to-plant fruit trees.


After they are stripped, we are going to coat them in a wood preservative of which  we are still researching.   One down, many more to go.
 
 
Shared with: Down Home Blog Hop~ Number 78 + Homemade Body Butter
 

Saturday, March 1, 2014

Spring Fever, Getting Ready for Warm Weather.


As those of you who follow me know, we are starting our first garden this year.  Having been over the road truck drivers, time never allowed us to plant a garden, tend to it, and harvest anything that might have grown in it.
 
So, I am going to share with you my journey of trying to grow seedlings for transplanting in our garden.  If you see anything that I might try to do different that will work better, please, leave me a comment.  I will try my best to follow your advise.
 
I follow Jackie Clay of "Ask Jackie" of the Backwoods Home Magazine.  I noticed that she uses the Jiffy Peat Pots.  So, I thought if they are good enough for her, I will try them and see how it goes.  I went down to the local feed and seed store and got three trays.
 
My first set of seeds that I planted are 6 different kinds of tomatoes.  I followed all the directions on the packaging and this is the result.
 
 
Just about every seed that I planted came up.  Being, that so far I am having some success, I will show you what I did. 
 
First, you start with a tray of peat pots.  Now, just so you know, I do not receive any money for endorsing any products that appear in my blog.  At least, not yet.  And if and when I do, I will let you  know.  Now.
 
 
The directions say that if you want to hydrate the whole tray to add ten and a half cups of water to the tray.  This will cover the peat pots by about an inch and a half to two inches. 


After adding the water, you wait.  As you wait, you may see a few air bubbles come up out of the peat pots and see the water level go down.  But unless you like to watch paint dry, I would get some other chores done.  Give the tray about 30 minutes of sitting time and when you get back you will have this.
 
 
Now is when your fingers will get just a little dirty.  I found that you need some small tools for opening the peat and then, pushing the seeds down in the peat and then covering them up.  These are what I used. 
 
 
The fork, I used for picking up the netting on each pot to help open it up.  The fine point Sharpie, was used to mark what kind of seeds were being planted on each of the plastic plant markers.  The toothpicks were used to fluff the peat, push the seed down into the peat, and then firm up the peat on top of the seeds.  The plate has a special purpose, also, I will explain. 
 
Before opening each pot to plant the seeds, you have to be able to handle the seeds.  I use the paper plate for this.  Each pouch of seeds is poured out into the plate.  Then you can get to each seed.


After I was finished with each type of seed, I used a funnel placed in the neck of the pouch and poured the leftover seeds back in its proper pouch.  I made sure to only work with one type of seed at a time.


In each pot, I opened the netting that holds each peat pot.  I tried to place 3 seeds in each pot.  Using the toothpick I pushed each seed down into the peat.  I tried to just push it down far enough that I could not see it anymore, about one fourth of an inch.  Then, using the toothpick, I firmed up the peat and covered each seed.
 
 As I finished with each type of seed, I need to mark what each pot contained.  Each tray held 72 peat pots.  So, I used 12 pots per type of plant.  This tray contained 3 different kinds of cabbage, 1 type of broccoli, 1 type of cauliflower, and 1 type of brussel sprouts.  These are all part of the cabbage family.  With all the differences, I need to know what was in each pot.  I used an old plastic mini-blind that was no longer serviceable for a window.  Mr. Blacksmith took it apart for me and cut each slat into smaller useable pieces.  For every 12 pots, I made a marker.  Each one was about three and a half to 4 inches long.  I wrote on each one what kind of seed was planted in those pots.
 
 
 After this, I put the clear plastic lid on to create a greenhouse effect and put the entire tray in my guest bathroom which somehow is the warmest room in our home.  I put the tray on top of a heating pad that has a timer on it and set it to the next to the lowest setting so I would not cook my seeds.   Oh yeah, I made sure to leave the light on in there.  
 
After this is the waiting game.   Hopefully, if I have done everything right, I will have some cabbage family plants in a few days.  According to everything I have read, I can put these out in the garden bed approximately 3 weeks before our last average frost date.  If there is a threat of frost after that I will cover them up with blankets or plastic.  
 
Thanks for reading.  Hope that what I am doing will help someone else.  
Like I said before, this is our first garden.  Don't take what I do as gospel.  I am learning, too.  If you are more experienced and know something that will help, I am all ears.  Thanks for stopping by.
 
 
Shared with: Down Home Blog Hop~ Number 78 + Homemade Body Butter


Tuesday, January 28, 2014

Winter Storm Warning
 
Well, here we go again.  The weather service is predicting that we are going to get a 'dusting' of snow.  
 
But with this prediction, we have a little bit of a different situation here at the Krooked Pine Farm.  After five months of looking for employment, I am now working for a 911 center nearby.  My first day was yesterday.  For the next 6 months, I will be on probation and in training.   So with this weather prediction, we three trainees were sent home as we were really useless in answering phones and sending calls for assistance to the people in the communities. 
 
It seems that the weather service kind of underestimated the speed at which this storm was going to come in.  I was still at work when the Blacksmith posted these pictures to let me know how bad it was already at home. 


For those of you that look at this and think, "that's nothing."  You are right, for an area that has the infrastructure to take care of it.  We live in the south in Georgia.  Due to this rarely happening, Georgia does not budget for such happenings.   This is what the weather service expected.  This is a dusting.  This, most anybody could handle.  But it did not stop at this. 

When I got home, this is what it had become.
 
 
A little while later, we had this.
 
 
A short time after this, we had this.
 
 
And finally, after the snow stopped, we had this.
 
 
Even this, for people who live in areas that get snow all winter long, is nothing.  But in the south, this is a disaster.   The grocery stores are stripped bare of any kind of bread or milk.  These are the first things to go. 
 
The Blacksmith and I are well set to weather most any storm.  We have two, four wheel drive vehicles.  We have food stocked including bread and milk.  But this time, we realized that we were very low on propane gas for our back up heat supply.  Our home is, unfortunately, total electric.  If the power goes out we are without heat.  So we have a old propane heater that will heat our entire home, if needed.  Thankfully, the propane gas company is just down the road about six miles. 
 
This is what we saw in route.
 
 
Turns out, we were not the only ones getting propane.
 
 
So, we got our tanks filled.
 
 
For somebody from, say, Michigan or Wyoming or Montana, they would laugh at how we react to something as simple as three inches of snow.  I, also, think it is kinda funny, as I have driven an eighteen wheeler in much worse weather than this.  But, the roads that I drove on had snow plows and road sanders or salters.  In the south, we are lucky to have a dump truck throw out a little sand on the bridges here or there.  Some cities have a road scraper go through town to move the worst of the snow off of main street and some of the other major arteries so the ambulances and fire trucks can move around town.  
 
So, please, don't laugh at us too hard.  We are just not used to this kind of weather.  If you look at my earlier posts, you will see one of the last snow storms we had.  That was back before we had even moved our home onto our land.  The Year so Far in Pictures
 
So, for those of you in the south, be careful and try to stay home.  For those of you elsewhere, be thankful you have the infrastructure to help deal with these little 'dustings'.  Stay warm.
 
 
Shared with:  Down Home Blog Hop 


Wednesday, January 15, 2014

So Ready For Spring


Well, yesterday evening about dusk we decided to go ahead and fill the one raised bed that we built over the weekend.  It took five tractor bucket loads of medium to fill it.  We used two big bucket loads of the top soil in the bottom of the bed, then we put 3 bucket loads of compost on top of that and spread it out.  Sorry, did not get pictures of the filling but here is the finished product.


We were worried about the sides bulging out once it was filled so before we filled it we took two 36" long stakes and pounded them into the ground about midway down the side of the bed on each side.  We then screwed them to the side of the bed.  The sides then became very sturdy. 
 
 
The good news is we got a line on some more lumber that we will go get next Sunday afternoon.  We are getting enough for at least 2 more beds and they will be longer.  This bed is 10' long.  The new lumber is supposed to be 12'. 
 
Now, Blacksmith and I are novices at growing a garden.  We are learning together.  I have read so many books and read articles online and Blacksmith has researched via Youtube.   I have the Square Foot Garden book and I am going to follow some of what is in it but we cannot afford to buy all the medium that the writer recommends.   So, we are going to try to use the "lasagna method" on the next two beds and see how that does.
 
While researching last night, I came across the University of Georgia Cooperative Extension Planting Chart.  This will come in so handy.
 
 
This same website had a calendar and list of chores to be done so you can stay organized.  This also, will be handy.
 
 
Now, to try to get all my seeds organized so that we know what is going in the beds first and to know what to start as transplants when the time comes.
 
Vegetables
 
We also have some research to do in starting our herb garden.  We have the seeds.  I know that some need to be in pots all by themselves or they will take over the bed and I know that some are good to go in the bed all by themselves.   It is learning which ones are which is the problem.
 
Herbs
 
 So, the farm is now getting the garden together.  It is just a slow, steady walk to get it all done.  Thanks for coming on the walk with us.  
 
This post shared with:

Sunday, January 12, 2014

Beautiful day for working on the farm.


After the "polar vortex" came thru we then had thunderstorms which came thru yesterday morning.  It then cleared off and this morning is absolutely beautiful.   So we decided that today would be a good day to work on some of our farm's infrastructure.  We now have one raised garden bed completed and just need to fill it up with growing medium.
 
 
We were lucky in that the only thing this cost us was the fuel to go get the lumber and some long decking screws that we already had.  A good friend had the lumber lying around and said we could have them.  We built the bed by cutting two of the long pieces down to four feet wide and then cut one long 4x4 post down to 4 sections of 15 inches long each.  See the pictures for reference.  We then screwed everything together to make the box.


We then, using the tractor, moved it in to position, in the yard to its final resting place.


With a final push, it is in place.


Later, when it is a little dryer, we will put the growing medium in it. 


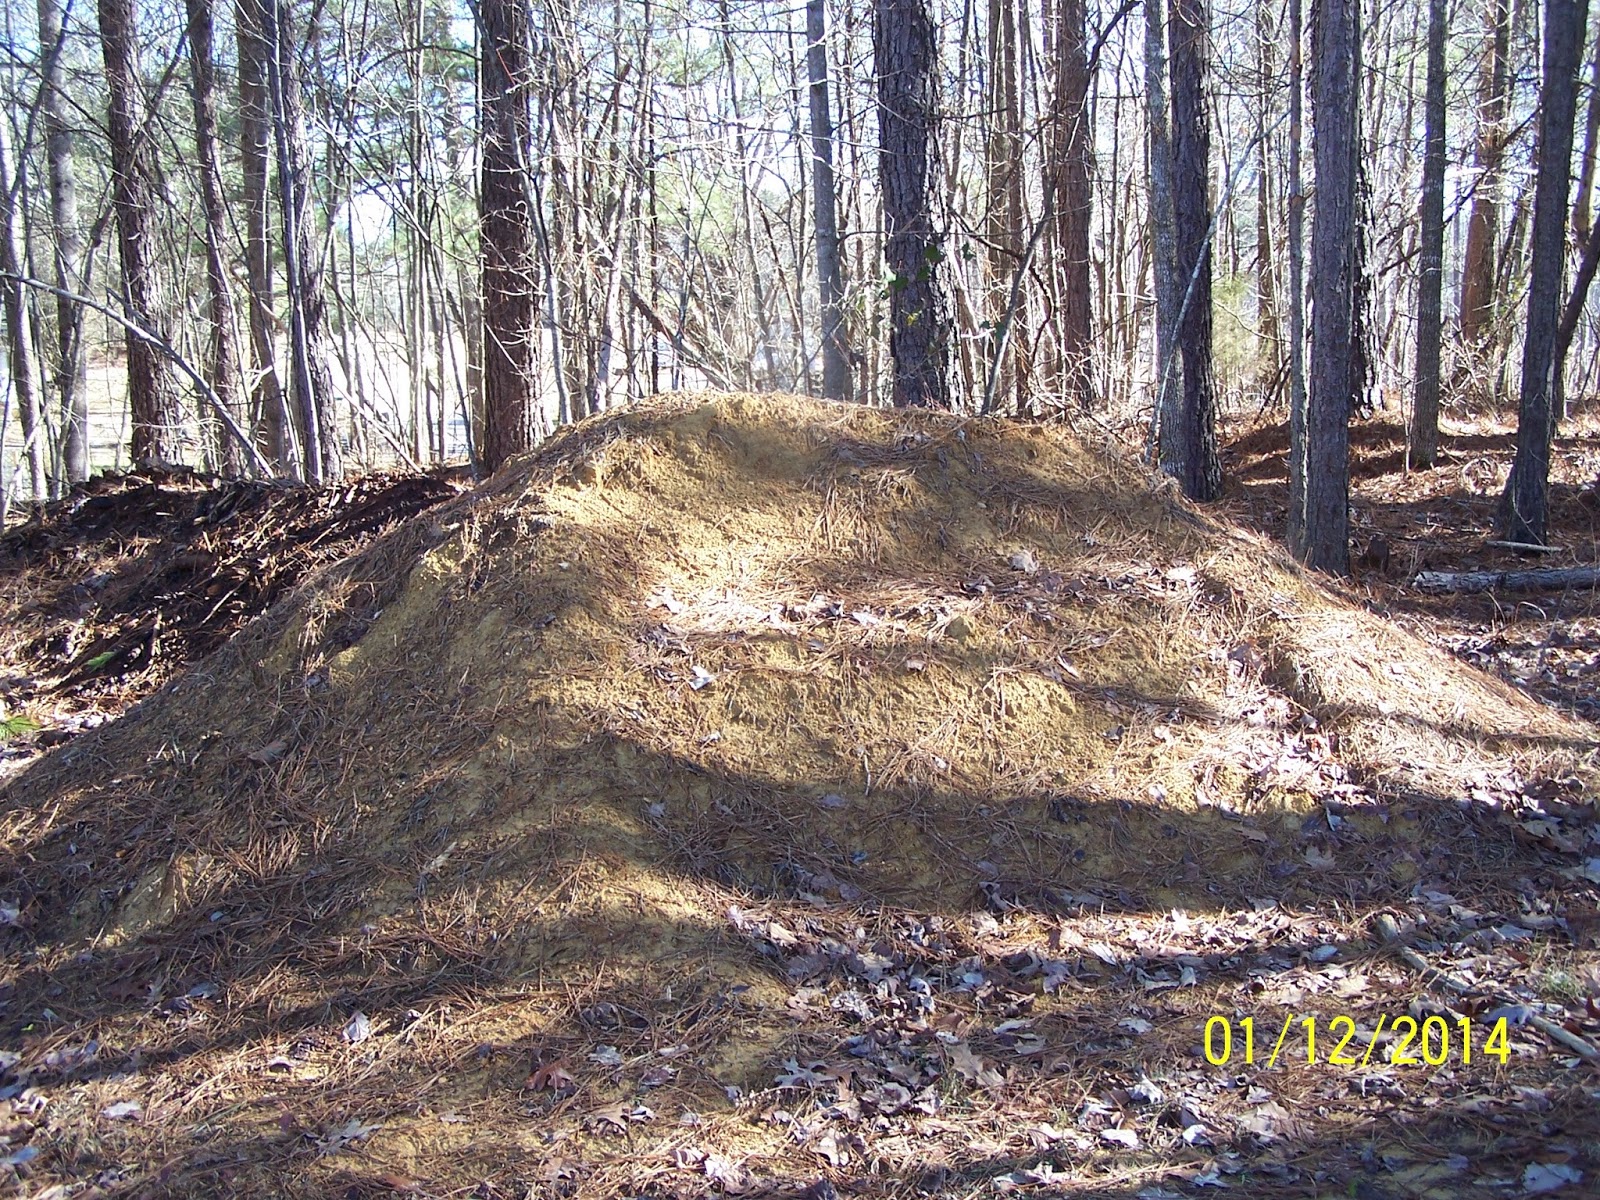
This second pile is forest compost that we found under one of the piles of debris from where we had some pine trees taken out.  It is very rich.  We also have access to some composted cow manure mixed with straw.  We will mix the three together before filling the bed.
 
After setting the bed in place, we went up to our pallet stack and did some recycle work.  Using a sawsall, Blacksmith cut the nails to reduce the pallets into lumber again.  We are working on extending our walkway off our deck so we don't have to walk in the mud so much.


 We now have some lumber to not only extend the boardwalk but to have our uprights to start our chicken coop.  These are 10 feet long. Yah! 
 
 
These are 4 feet long.


And thru it all we were supervised by the ever present Tootie.
 
 
 After we reduced several pallets down to their individual components, we moved everything back down to the house. 


 We had the section just in front of the steps done but it need to be extended.  We added another 10 feet of boardwalk and now we no longer have to walk in the mud to get to the front porch.
 
 
After this, Mr. Blacksmith got creative and moved our walkway lights from the ground up on the grab rail.  They not only will give more light but now they will be able to get more sunshine to charge their batteries. 
 
 
So, today was a very productive day.  Now to go clean up and fix supper.  Hope your day was as good as ours. 
 
This post shared with: